Kreative Kay _- Close to my heart consultant
This is my version of a paper bag album
As my first attempt I'm really impressed
As my first attempt I'm really impressed
I used mainly "baby cakes" paper pack , New arrival and urban alphabet stamp sets, from Close to my heart.
Material's
- 3 Brown paper bags
- white card to make album binding
- glue *I used pva
- photos
- Your choice of papers and embellishment.
We will start with the paper bags, you may need to adapt the measurements to your size paper bags. (Measure all the time anyways just to be safe)
1. Fold your 3 bags in half, using a bone folder is good to get a perfect fold. (my bags are 243 x 202mm )
 2. Grab your white piece of card stock you plan to use for the binding.
Using a ruler, measure the width of your bag, that's how wide you need it.
Mark along the paper 2.5cm 10 times, then you can cut of the excess card.
 3. I personally used a scorer to score the lines to make it easier and more accurate, but at each 2.5 dot make a fold, ending up to be an according like pictured.
4. Take your folded paper bags and insert as pictured below. In the first fold, glue in the first bag, then leave a fold and insert the second into the 3rd crease. Continue along.....
( I used pva, some say use glossy accents, any glue is fine, tape is NOT.. it will not last as long using tape).

5. Spread out the outside binding and glue them all close like this, DO NOT glue the inside ONLY the outside spine like in the picture.
6. Put the spine under a heavy book (or under your took caddy like I did) to dry.
7. Whilst you wait for your glue to dry, sort out your photos and papers you would like to use. It wont take long, It took only about 10 mins before I was getting into the fun part.
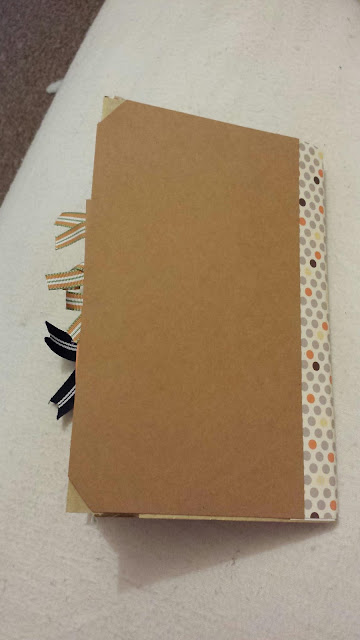
ENJOY MAKING, HERE IS THE ONE I MADE
This is my final product.
Feel free to share and try my tutorial, Please leave feedback good or bad. This is my first tutorial and first time making a paper bag album.
Thank you
Kay


No comments:
Post a Comment