Friday, April 17, 2020

6 Card Quarantine Kit - 17th April 2020


6 Card Quarantine Kit

Kay Sutcliffe – CTMH  17th April 2020

Welcome to my 2nd Quarantine Card kit! Below are simple instructions to each card. 

Please let me know if you have to much trouble assembling, or if it was too easy. I can adjust the assembly to suit your skills. (more, less fussy cutting etc).

Enjoy the kit this week, I hope you have as much fun doing them as I had making them!


Card 1

I think this one is my favourite this week. 
Colour in the puppy with what ever you like.
 I used water colour pencils and used a lightly wet brush and just brushed it to blend.
The bow has a sticky dot on it, be careful not to let the backing fall off before your ready, its very sticky and once it is stuck, its STUCK.
I have given you two different sayings to use. A birthday saying or a friend saying.  Choice is yours.
I pop dotted the puppy card and the mounted saying. 


Card 2
This is a special request card, and certainly got my brain thinking as I didn’t have any golfing stamps.
 So using my scan and cut I found the perfect Golf green. 
Move it about to suit yourself.  
The flag and the ball are both popDotted.

(if you do have any requests for a themed card, I love the challenge) 

Its easy to search for files to cut on your cricut or scan and cut. I tend to look for files if I dont have a stamp or a die on hand to use. The golf ball is just a circle I punched out, and put through the big shot and embossed it. 


 Card 3
The super easy one for this week.
Layer the card pieces. 
I have put tape on the back of the burlap strip already for you to peel off. 
Use a glue dot to glue down the bow.
I pop dotted the greeting and  If you use a wet glue, leave to the side for a few hours to dry.
 I used a two step stamping, stamping a solid image and without restamping, I stamped again, giving the look of different colour inks. 


Card 4

Graduation card!

Using your sand paper in your kit from last week, distress the edges of both the stripy large piece, and the darker grey piece. 
(as much or as little as you like)
 stick both those pieces down, and then assemble the other pieces.
I used pop dots on all these. Even the small scroll. Popped everything right out. 
spread out some bling and done.


 Card 5
This card is just a simple layering.
Assemble in this order.
  1. White wood background 
  2. Dotty piece, 
  3. lighthouse piece mounted on the brown, 
  4. pop dot the fence and let it cover the bottom of the lighthouse card.

 Put on your bling.


Card 6

I made this card because my mum loves dragonfly’s.
Assemble in this order.
  1. Grey card
  2. gold glitter strips (I have put on tape already for you, all you need to do is peel),  
  3. using my card as a guide you align them, put tape about 1.5cm in from the edge of the grey stamped piece on the back.. this will ensure it misses the glitter card, as it wont stick to the glitter, 
  4. pop dot the back of the greeting, and the dragonfly.

     Assemble them where ever you like. 


Hope you enjoyed this weeks cards... Next weeks are already in the works, cannot wait to share 
xx Kay

Friday, April 3, 2020

6 Card Quarantine Kit - 3rd April 2020


6 Card Quarantine Kit

Kay Sutcliffe – CTMH

All these cards are ready to assemble (to a degree)!  Below are simple instructions to each card

At times like this, particularly those who are at home on their own, the connection of receiving a physical card is important. 
Any cards you would like to post, I can grab them from you and post for you.  Just message me to let me know.

HAVE FUN, AND I HOPE YOU ENJOY YOUR CRAFTY TIME DURING THIS CRAZY PANDEMIC.


Card 1


A Simple one to start with.
Using your water colour pencils, colour in the bird.
Use a paint brush and a tiny bit of water. (remember that the less wet the brush is the darker the watercolors will be).

Build up the card as per the picture. Using pop dots to pop up the mounted image of the bird. 


 Card 2
Use the spotty side facing up.
Layer this card starting with the pink cardstock.
Don’t forget the pink card strip and green glitter strip before you put on the green cardstock with the stamped image on it. (use the pop dots for the green card)
Scatter about the bling dots.

If you don't have the right coloured cardstock this type of stamping works well... the yellow of the cake is actually stamped.. and the happy birthday is stamped on top. Easy and no needing to fussy-cut pieces too. EASY


Card 3
This one is explanatory.
Layer the strips down the bottom, starting with the glitter tape right at the bottom and work your way up.
Peel the clear backing on glitter tape, it already had adhesive.
Cut out the celebrate flag and use the popdots to pop it on top of the strips.
Love how you don't need to have much materials to make a wonderful card easily!

 Card 4
This one is pretty simple.
Use the feather side facing up.
Build up the card, using flat popdots behind the orange cardstock.
Colour in your stamped flowers using pens/alcohol markers and fussy cut them.
Use the larger pop dots for the flowers.
You don’t need to use the happy birthday; this would suit as a lovely card for a friend in isolation without the happy birthday.


Card 5

Use sand paper square to sand the edges/face of the brown textured paper that is directly onto the card base. 
This gives a distressed lovely look.
Cut out your flower, leaves and the bird.
Construct the card, and use the different size popdots to pop up your cutouts.

Card 6
This is my favourite card of the kit.
On the base card put the orange and flower papers on.
Pop up the teapot onto the bottom of the card, colour and cut out the flower using markers. 
The tea bag icon is already pop dotted ready to take of the adhesive.
The extra for this card is what goes on the inside.Inside there is a piece of orange cardstock that I have already put thin tape on, this is for you to pop the tea bag. There is also an optional printed note. You do not have to use this.
The Orange card is stuck down with PopDots.


Hope you enjoyed this card kit. 
Until next week... 
Kay


Thursday, August 1, 2019

CTMH Australasian August SOTM Blog Hop


Hello and welcome aboard our  August SOTM Australasian Close to My Heart Blog Hop.


Today I would like to share with you a creation which features the wonderful August SOTM- random act of cardness!


Love this stamp set, its so so versatile.
so many ideas going through my head, and I think it will be a well used set in my kit.
what do you think you can create?

Made this one into a monochrome. I love doing this type of cards, Im really attracted to cards like that.

Sunday, July 1, 2018

S1807 Highlight Reel CTMH Stamp of the Month Australasian Blog Hop


A Happy Hello and welcome aboard our Stamp of the Month Australasian Close to My Heart Blog Hop.


If you have arrived here from Doris's Blog,  then you are in the right place. 

If you landed here by accident, no problem, please join in by following the link at the end of this post. 

Today I would like to share with you a creation which features Close To My Heart’s July Stamp of the Month Hightlight Reel


Ive made one card this month to get back into the groove of these wonderful blog hops!
I have started with  using lovely papers from the
Documented range.  Keeping it simple, I used the spotty boarder included in the the SOTM  July 2018 to make a spotty background in pansy Ink. 
In black I stamped a simple happy birthday from my stash of stamps.
Using Pansy Ink again, I stamped "a day to remember" and two bold hearts, cut them out and used pop dots to adhere them to the card. 

Cut a strip of Pink glitter card stock to blend the two papers together, and used matching documented Dots. 

This is a simple but effective card. 
This exclusive SOTM Hightlight Reel is only available during July 2018!
·         It can be yours for just $7.50 with a qualifying order of $75.00 or for $28.00 if ordered separately from your CTMH consultant.  
·         This Workshop Your Way collection can be yours for just $30.00. 

Individual components can be ordered from your CTMH consultant.

This special offer is available until the end of JULY 2018.  Contact your CTMH consultant to place an order

If you do not have an consultant please contact me or place an order here. 
Id love you to leave a comment before heading of the to next stop!who is the lovely Doreen Watkins !!
 

Wednesday, July 20, 2016

July card class featuring new season stamps

July Card class
2016


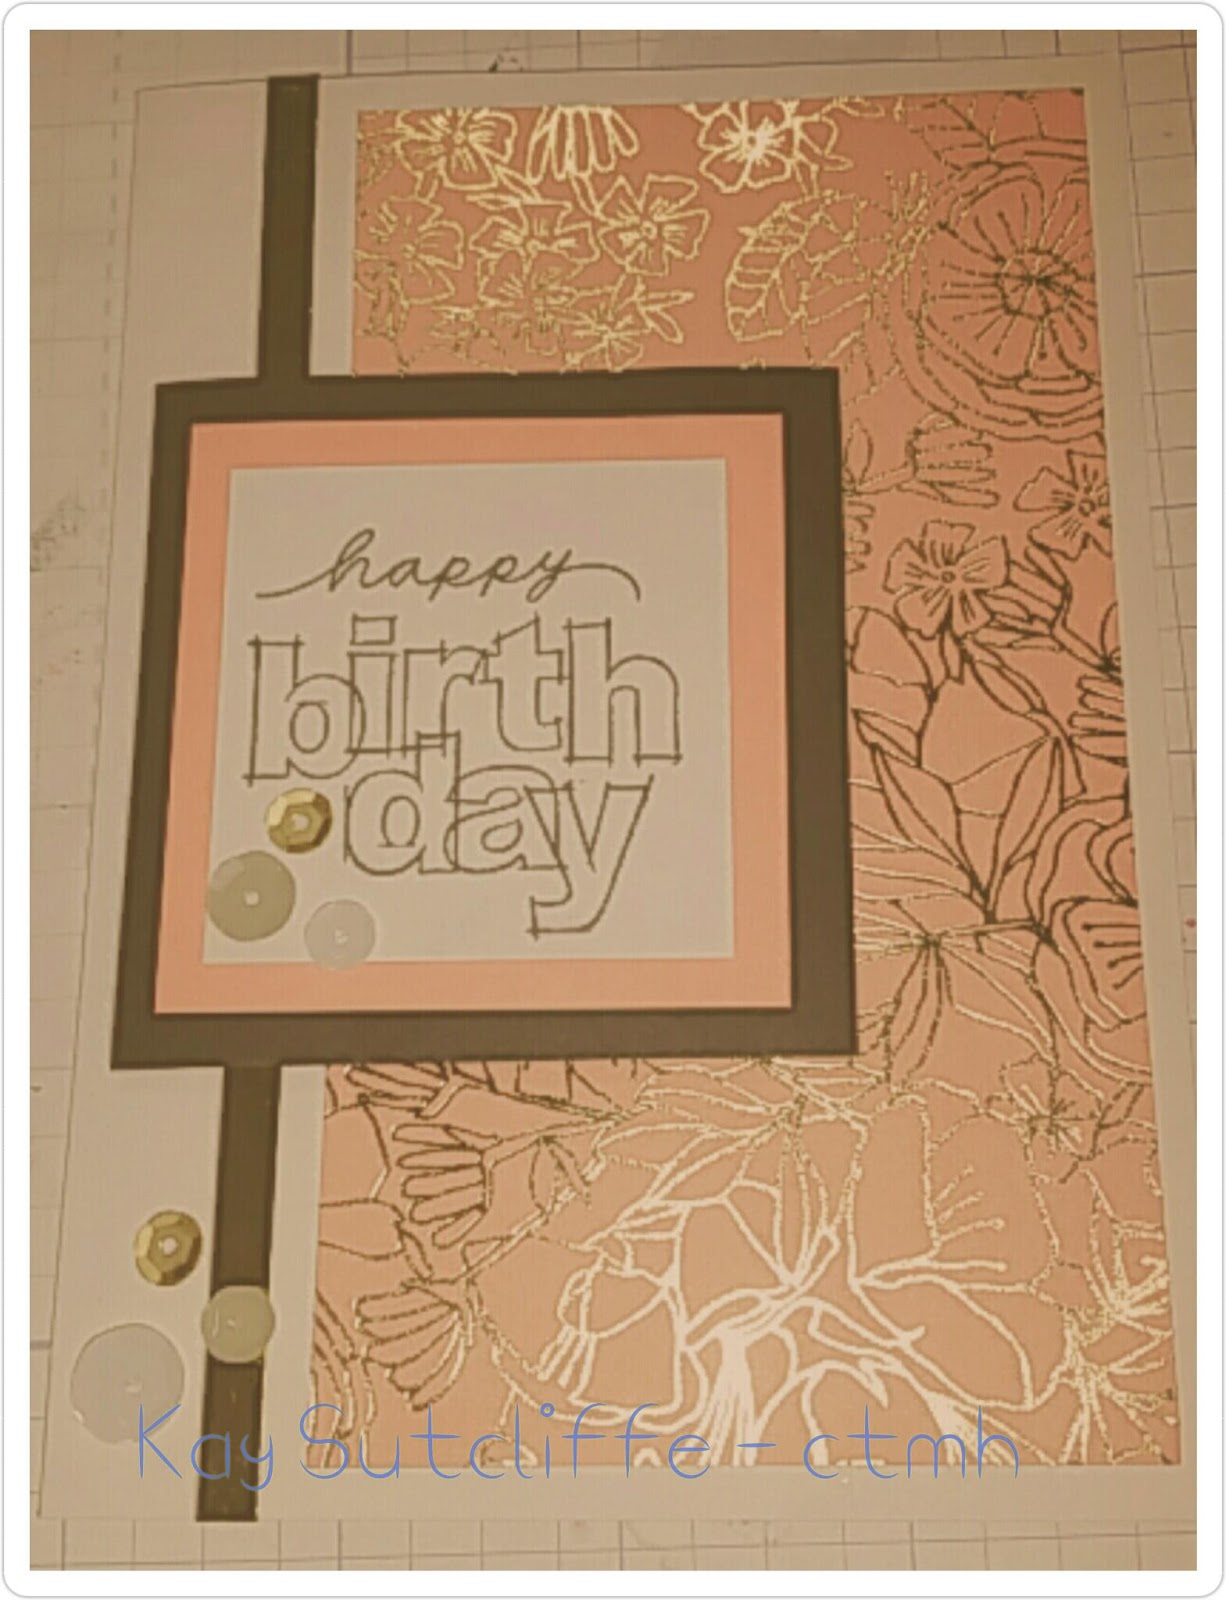
I'm still using the free paper pack from the few months ago, this one paper pack is lasting me for ever... love how much use you can get out of one pack of mixed pages,
So very simple, and only using a few simple ideas, laying of the Happy birthday and the gold foil strip completely complements the beautiful gold foiled flower paper.
As usual its so easy to compliment with the gold and white sticky sequins.


Here is a sneek peek of a new stamp from the next Annual Inspirations available in August 2016.
The set is called "Happy Heart Sentiments" A lovely little set to put a smile on anyones face.
Again, really really simple, I love to make really complicated cards, but sometimes a simple easy card can have just as much effect.


This next card is using a old sotm.. but a new technique. Using the watercolor paint and a ziplock sandwich bag.....
Dripping bit of colours all over the plastic and laying onto the card surface. A bit of push and smoosh.
Wahhla.... stamp onto of your image.  
I found that keeping the paint watery is best as if it's to dark it's hard to see the stamped images. 


Thank you so much for reading,
if there is anything that you are interested in wanting to know more information on, please don't hesitate to message me or check out my website,
Kreative Kay